(Practical, Budget-Friendly Solutions for Indian Homes)
If you live in an Indian home—especially an older house, a ground-floor flat, or a monsoon-prone area—there’s a good chance you’ve dealt with damp walls. It usually starts innocently: a faint patch, peeling paint, or a musty smell. Before you know it, the wall looks ugly, paint flakes off, and the room feels uncomfortable.
As a home improvement expert who has seen damp problems across cities like Mumbai, Kolkata, Chennai, and even drier regions like Delhi and Jaipur, I can assure you of one thing: not all damp problems need professionals or expensive waterproofing treatments.
Many damp issues are minor, surface-level, and can be fixed at home with the right approach—especially if you act early.
This article will guide you step by step on how to identify dampness, understand its cause, and fix damp walls yourself, using methods suitable for Indian homes and climate.
First: Understand What Kind of Damp You’re Dealing With
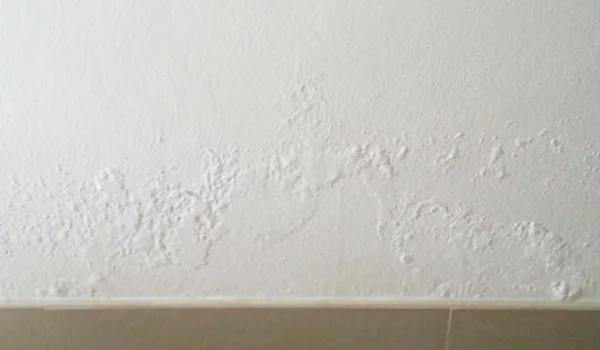
Before fixing damp walls, you must identify the type of dampness. Treating the symptom without knowing the cause leads to repeated problems.
Common types of dampness in Indian homes:
- Rising Damp
- Found near the bottom of walls
- Caused by moisture rising from the ground
- Common in ground-floor homes
- Seepage Damp
- Caused by water entering from outside walls
- Common during monsoons
- Condensation Damp
- Caused by poor ventilation
- Seen in kitchens, bathrooms, and bedrooms
Most DIY fixes work best for condensation and mild seepage damp.
Step 1: Dry the Wall Completely (Do Not Skip This)
This is the most important step—and the most commonly ignored.
How to dry damp walls naturally:
- Open windows daily
- Use pedestal or exhaust fans
- Allow sunlight to hit the wall
- Avoid covering the wall with furniture
Important: Do not paint or repair a damp wall while it’s still wet. Trapped moisture will ruin any fix.
Step 2: Scrape Off Damaged Paint and Plaster
Once the wall is dry:
- Use a scraper or putty knife
- Remove peeling paint and loose plaster
- Clean dust with a dry cloth
This helps new treatments stick properly.
Step 3: Identify and Fix the Source (DIY Level)
Without professional tools, you can still catch many sources of dampness.
Simple checks you can do:
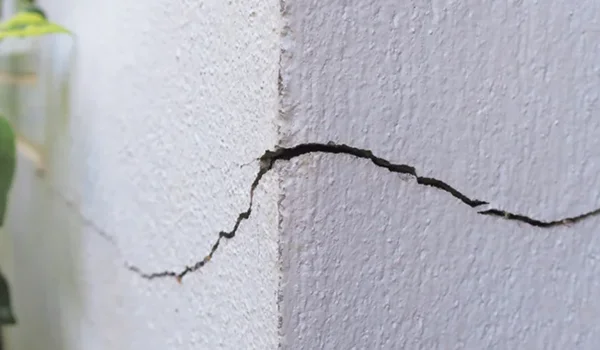
- Look for cracks on outer walls
- Check for leaking pipes or taps
- Observe damp patterns after rain
- Check if water collects near the wall outside
Fix visible cracks using white cement or wall putty.
Step 4: Use DIY Anti-Damp Treatments
Now comes the actual fixing.
Option 1: White Cement + Waterproof Additive
This is a popular Indian DIY method.
How to use:
- Mix white cement with a waterproofing additive
- Apply on affected areas using a putty knife
- Let it dry completely
This works well for small damp patches.
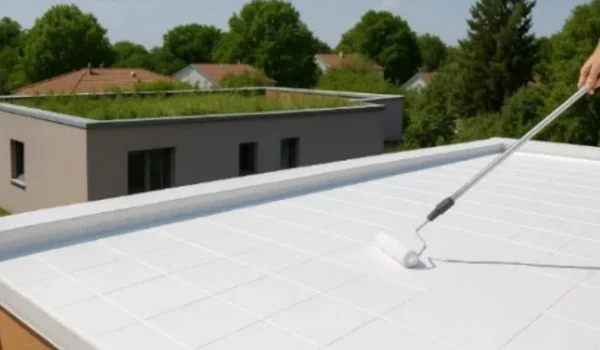
Option 2: Cement-Based Waterproof Coating (DIY Grade)
Many brands offer ready-to-mix waterproof coatings.
How to apply:
- Mix as instructed
- Apply 2 coats using a brush
- Allow drying between coats
This creates a moisture-resistant layer.
Option 3: Alum (Fitkari) Treatment – Traditional Method
An old Indian remedy still useful for mild dampness.
How it works:
- Dissolve alum in warm water
- Apply to the damp area using a cloth or brush
- Let it dry naturally
This reduces moisture retention temporarily.
Step 5: Improve Ventilation (Long-Term Prevention)
Many damp problems return due to poor airflow.
Easy ventilation improvements:
- Keep windows open daily
- Use exhaust fans in kitchens and bathrooms
- Avoid drying clothes indoors
- Keep wardrobes slightly open
Good airflow prevents condensation damp.
Step 6: Use Damp-Resistant Paints
Once the wall is treated and completely dry, choose the right paint.
Best paint options:
- Anti-fungal paints
- Damp-proof emulsions
- Breathable wall paints
Avoid cheap distempers on previously damp walls—they absorb moisture easily.
Step 7: Prevent Dampness from Outside (DIY Steps)
External walls play a big role.
Simple outdoor checks:
- Ensure rainwater drains away from walls
- Clean blocked pipes and drains
- Avoid water pooling near the foundation
These steps reduce future seepage.
Step 8: Furniture Placement Matters
Furniture can trap moisture against walls.
Smart placement tips:
- Keep furniture 2–3 inches away from walls
- Avoid heavy wardrobes against damp-prone walls
- Use moisture absorbers inside cupboards
This allows walls to breathe.
Step 9: Use Natural Moisture Absorbers Indoors
These help control humidity.
Common options:
- Rock salt bowls
- Baking soda
- Activated charcoal
Place them near damp-prone areas.
Step 10: Regular Maintenance Is Key
Dampness often returns due to neglect.
Monthly habits:
- Inspect walls during monsoons
- Clean exhaust fans
- Wipe moisture-prone surfaces
Early detection saves money and effort.
What DIY Methods Cannot Fix
Be honest with yourself. DIY methods won’t solve:
- Severe rising damp
- Structural cracks
- Constant underground seepage
If damp returns quickly after DIY fixes, professional help may be necessary.
Common DIY Mistakes to Avoid
From experience, avoid these:
- Painting over damp walls
- Using plastic paints without drying
- Ignoring the source of moisture
- Covering damp walls with wallpaper
These worsen the problem.
Cost Comparison: DIY vs Professional
DIY damp fixes:
- Cost-effective
- Suitable for small areas
- Require patience
Professional waterproofing:
- Expensive
- Necessary for severe cases
Start with DIY—upgrade only if needed.
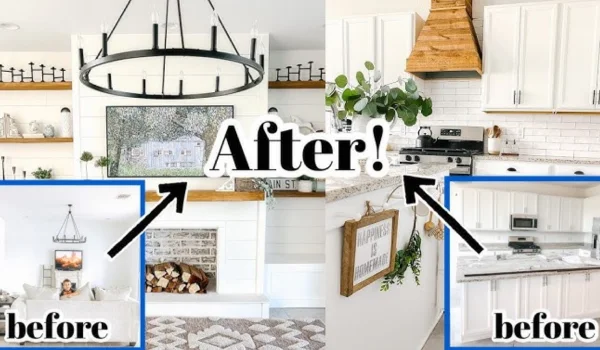
Final Thoughts: Damp Walls Are Manageable
Damp walls can be frustrating, but they don’t always need expensive treatments or contractors. In many Indian homes, simple fixes, regular ventilation, and early action can control dampness effectively.
As someone who has helped homeowners tackle damp issues without professional help, I can confidently say this: understanding the problem is half the solution.
Be patient, work step by step, and don’t rush the process.